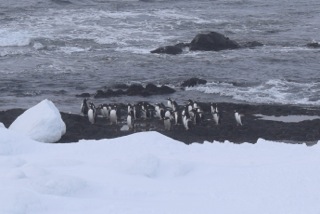

There are quite a few mottos that you hear relatively regularly in field science – “we’ll do what we can”; “c’est la vie”; “let’s just give it a whirl” – to name a few. The Waller Lab has been using quite a few of these over the past week as the reality of doing deep sea field science in the Antarctic came into focus. We’ve honed our problem-solving skills, channeled our creative side, and are ready for whatever the ocean has to throw at us!
When we first arrived in Punta Arenas, we spent the first three and a half days wandering the United States Antarctic Program (USAP) dock where multiple warehouses and containers store science equipment for the ongoing and upcoming research projects happening in the Antarctic, many at Palmer Station.
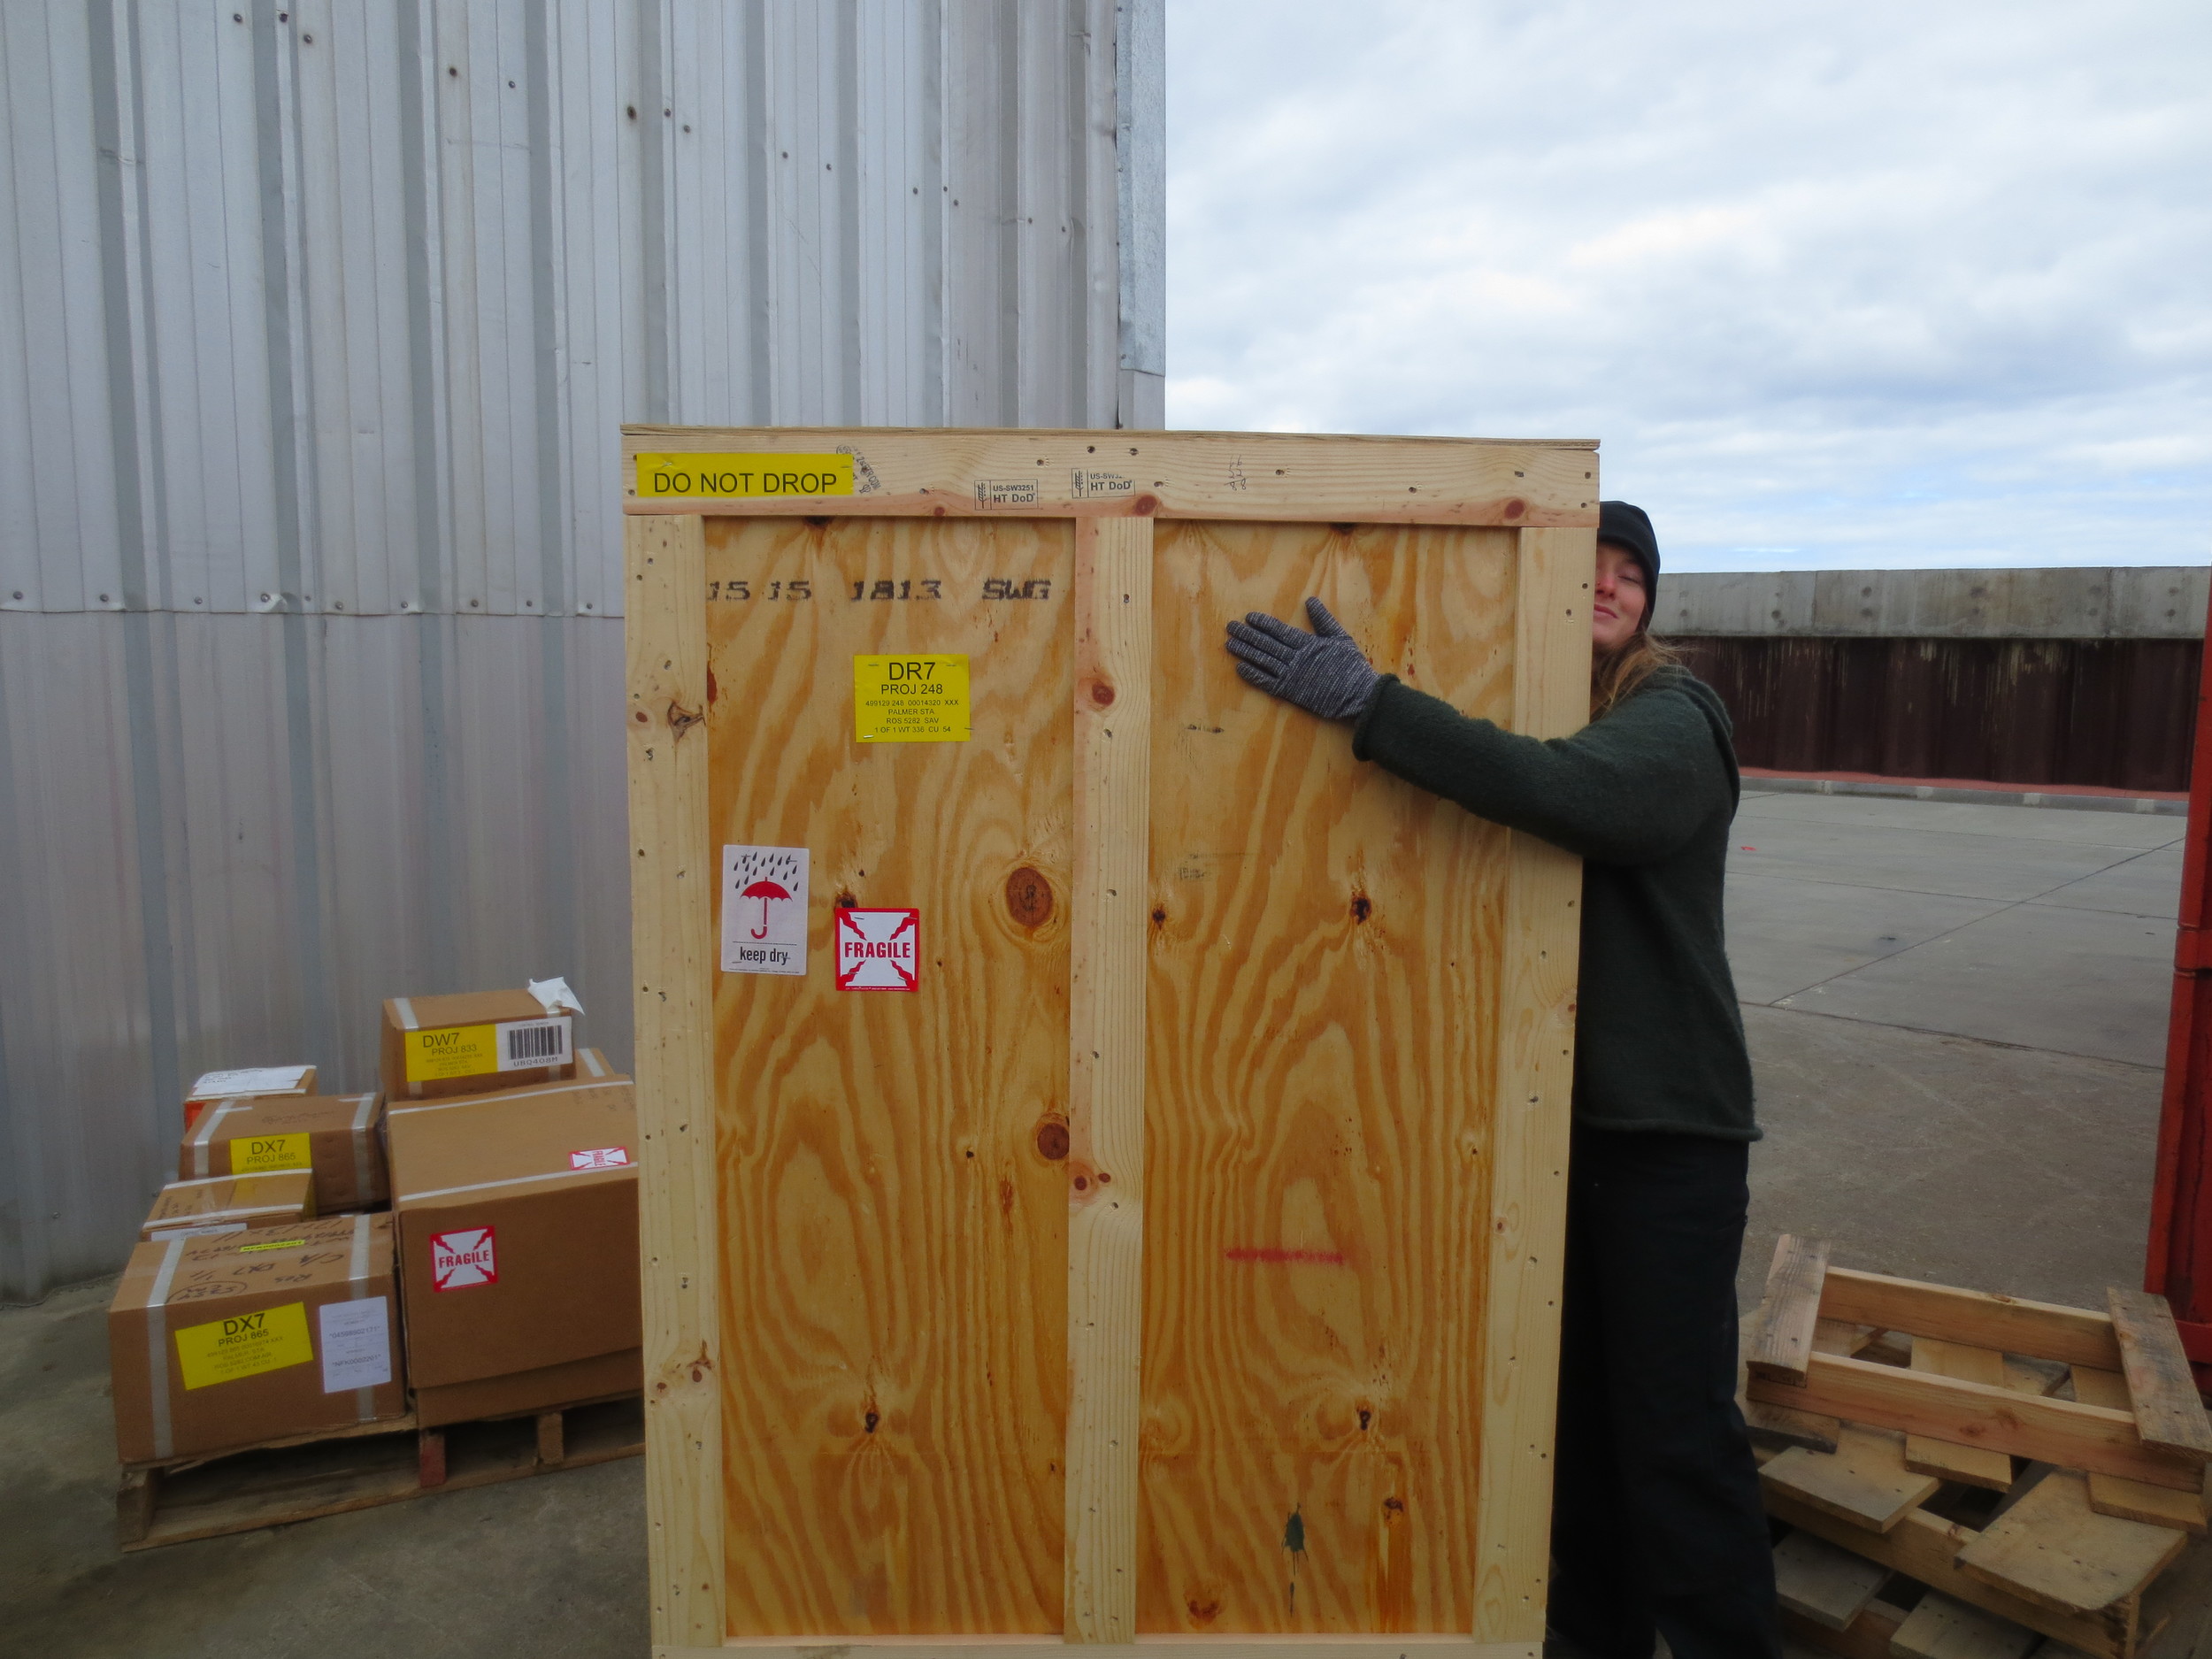
Sooooo happy all the supplies arrived!
First, we were most concerned with whether or not the glassware (vials and 20-gallon aquarium tanks) for housing the coral larvae (a.k.a., coral babies) during the experiment had made it from Maine to California to Santiago, Chile to Punta Arenas in one piece. We also had to make sure that the supplies and equipment we needed for the trawl surveys and CTD (conductivity, temperature, depth) casts were accessible during the cruise rather than stored down in the hold of the Gould and not accessible until we reached Palmer Station.
Next, we began to focus on sample collection scenarios and experimental design, which would be implemented as soon as we reached Palmer Station, Antarctica. This entailed multiple meetings and a lot of coffee and chocolate consumed in Dr. Waller’s cabin, where we were equipped with a white board and couch.
We took several factors into consideration when developing our Plan A – the “optimal”, Plan B – the “OK”, and Plan C – the “things didn’t go as planned, but we can still save the experiment!” We worked backwards from the total number of coral larvae needed to carry out each of the three plans. Basically, it was an exercise in elementary arithmetic with adjusting the number of treatments (or the different water temperatures of the aquarium tanks that we’ll eventually put the coral larvae into at Palmer Station), the number of replicates (or the number of individual coral larvae per tank) and the number of sample points (or when samples are taken throughout the period of the experiment – in this case, samples would be taken every 3 or 5 days over a 30 day period). We rearranged these factors in certain combinations that would still preserve the integrity of the experiment in terms of having enough replicates to make any experimental results statistically significant. Once we determined the number of coral larvae needed to successfully implement each plan, we calculated the number of adult coral we would need to collect and, viola, we arrived at the magic number of adult coral we needed to collect! I have to admit, we all were pretty brain dead after working through these different scenarios, but the hard work paid off and we are super prepared for the actual fieldwork, which is exciting!

Our planing efforts laid out in black and white.
Loads of gear aboard the Gould (with a furry tribute to the University of Maine - Go Black Bears!)
A day or so after our contingency planning meeting, a few bumps in the road appeared… we found out the aquarium tanks that we need as soon as we set foot at Palmer Station to set up the experiment were going to take longer than initially anticipated to be off-loaded from the Gould. This information changed our strategy and helped us zero in on which plan we would go with. Due to the increase of time between collecting the adult coral and being able to start the experiment, we’ve decided to collect fewer adult coral and keep them happier by giving them more space in their buckets, which is what we’re transporting them from collection site to Palmer Station in. We also created bucket dividers out of vial racks so that the individuals would be less likely to interact – apparently they can be aggressive and sting each other if kept too close. Given the fewer adult coral, we have opted for Plan C - 3 treatments or aquarium tanks with different water temperatures. All in all, we feel ready to tackle the CTD casts and trawl surveys which are getting underway today! Onward!