
On Saturday March 28, 2015, Phoebe and I attended a workshop where we learned how to prepare and inoculate hardwood logs in order to cultivate Shiitake and Oyster mushrooms. The workshop was led by Aaron Englander, Farm Manager of Erickson Fields Preserve, and hosted at Aldermere Farm in Rockport, ME.

the lighter colored wood is the sapwood. 4-6" diameter logs have the most sapwood which is softer and better for the mycelium of the mushrooms to digest
Shiitake and Oyster mushrooms are saprophytes, which means they feed on dead tissue as opposed to mycorrhizal fungi, which have symbiotic associations with living trees. This means that in the wild these mushrooms like to colonize old dead logs and gain energy by digesting the cellulose of the cambium or sapwood (the lighter colored wood surrounding the darker core, or heartwood), forming a dense mycelium (the vegetative structure of the fungus) network in the log before fruiting out.
The basic idea behind outdoor log mushroom cultivation is to create an environment where mushrooms have food, plenty of moisture to keep them alive and help them process food, and shade to keep them moist/from drying out. Also, we want to decrease the amount of competition from other decomposers by minimizing opportunities for those competitors to enter the log.

A look at the spawn plugs which are set into the hardwood logs
The process of preparing and inoculating logs is the most labor intensive part of growing mushrooms. The first step is selecting the right logs to use. The logs we worked with during the workshop were red oak for the shiitake mushrooms, and sugar maple for the oyster mushrooms. Shiitake mushrooms have traditionally been cultivated on oak trees, whereas oyster mushrooms are a little easier to grow on a variety of hardwood logs. Logs should be 4-6" in diameter, and be freshly cut right around this time of year, when the sap in trees is flowing and the moisture content of the logs is high. From mid-spring to early fall, trees are in growing mode, and all of the moisture is in the leaves, which isn't good for growing mushrooms. We worked with 4-foot log sections. Every place where you have to limb off a branch from the log (or generally create a break in the bark) is a vulnerable place where competing fungi might try to take over that log, so ideally avoid log sections with lots of limbs. After carefully cutting logs from healthy trees they should be stored for 2-4 weeks to get rid of the natural tannins and other secondary compounds that are the tree's natural defense against fungi.
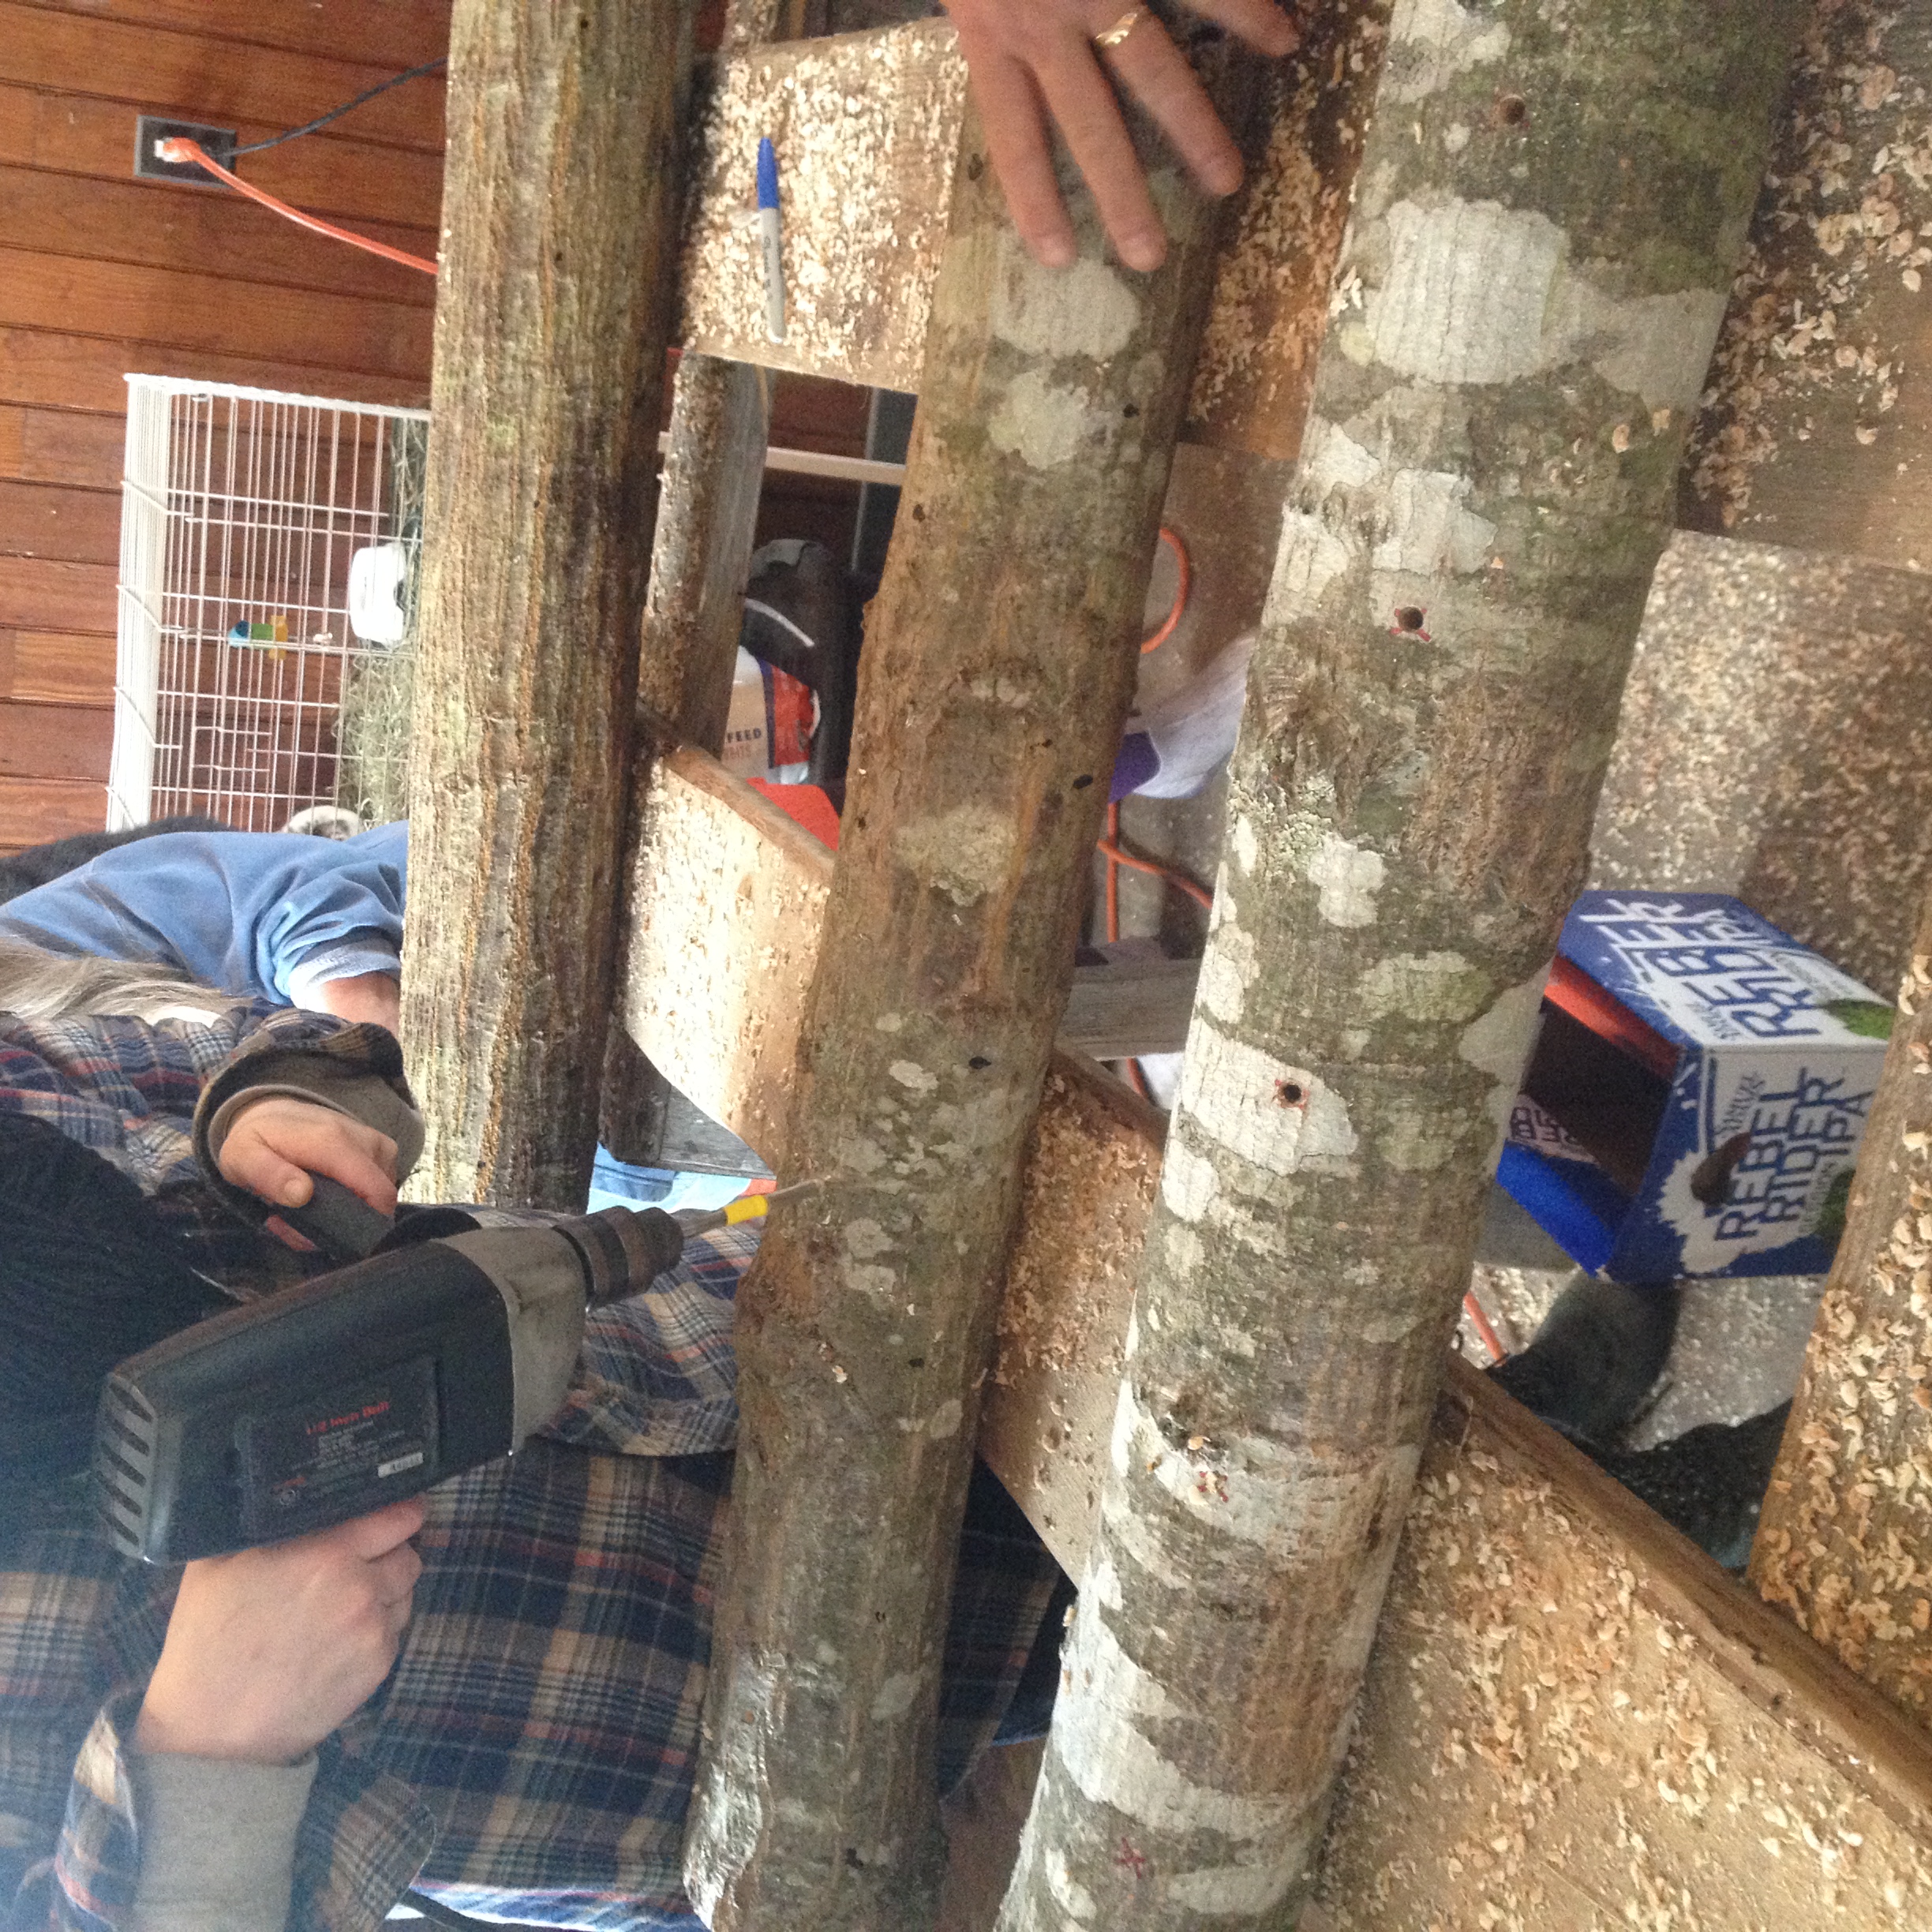
The drilling station
After selecting the logs, there are 4 major steps to prepare and inoculate the logs to grow mushrooms:

Adding the spawn plugs to the logs.
- The first step is to clean off the logs: we used wire brushes to clean off the moss, lichens, and other exterior fungi that might be growing on the outside of the log. The bark is the best natural defense against competing fungi, so gently clean off the logs, but avoid breaking the bark.
- The next step is to measure and drill holes in the logs to hold the mushroom spawn plugs. Using a 5/16" drill bit, drill a row of holes 6" apart and 1¼" deep. Space rows about 2" apart, and offset/stagger the rows to form a diamond pattern around the log.
- The third step requires a hammer, mushroom spawn plugs (we used plugs from the Oyster Creek Mushroom Company in Damariscotta, ME), and a bolt to help sink the plugs into the log. The plugs are approximately 1" long, so after hammering them into the drill holes, take a bolt to help drive the plugs into the log so there is a 1/4" space between the top of the plug and the outside edge of the log.
- Finally, all of the drill holes and any limbed off branch sections of the logs need to be sealed with paraffin wax to protect them from invading fungi. After melting the paraffin wax in a double boiler, you can simply paint a wax seal over the drill holes to protect the mushroom spawn.

Crib-stacked finished logs (the light patches are where the drill holes have been sealed with paraffin wax) The ends have been labeled with the type of mushroom, type of log, and date
After the logs have been prepared, they can be crib-stacked and stored in a moist, shady, and well ventilated area for 6 months. During this time, the spawn will slowly start to digest the cellulose in the log and form a mycelium network in the log before fruiting out! Prepared logs should last between 3-6 years depending on the type of hardwood, and mushrooms will naturally fruit out every spring and fall, yielding about a pound of mushrooms per log. We are excited to set up some shiitake and oyster mushroom logs on Hurricane Island to add to the locally grown food we eat on the island, so stay tuned for more mushroom updates. Thanks to Aaron for such an engaging and informative workshop!
Finally, if you are super excited about growing your own mushrooms, here are some great resources with more detailed information. Happy reading and experimenting!
Other online resources and fact sheets:
- Northeast SARE (Sustainable Agriculture, Research and Education) Best Management Practices for log-based Shiitake Cultivation
- D-Acres: Guide to outdoor mushroom cultivation
- University of Kentucky Cooperative Extension
- University of Alabama Cooperative Extension
- Paul Stamets is the mushroom guru of the country, and his company Fungi Perfect has a lot of great resources including books, growing info.
Books:
- Paul Stamets: Growing Gourmet and Medicinal Mushrooms
- Mary Ellen Kozak & Joe Krawczyk: Growing Shiitake Mushrooms in a Continental Climate
- J.S. Chilton and Paul Stamets: The Mushroom Cultivator
- Perter Oei: Mushroom Cultivation
- Bob Harris: Growing Wild Mushrooms
- Greg A. Marley: Mushrooms for Health: Medicinal Secrets of Northeastern Fungi
- Tradd Cotter: Organic Mushroom Farming and Mycoremediation--Simple to Advanced and Experimental Techniques for Indoor and Outdoor Cultivation
